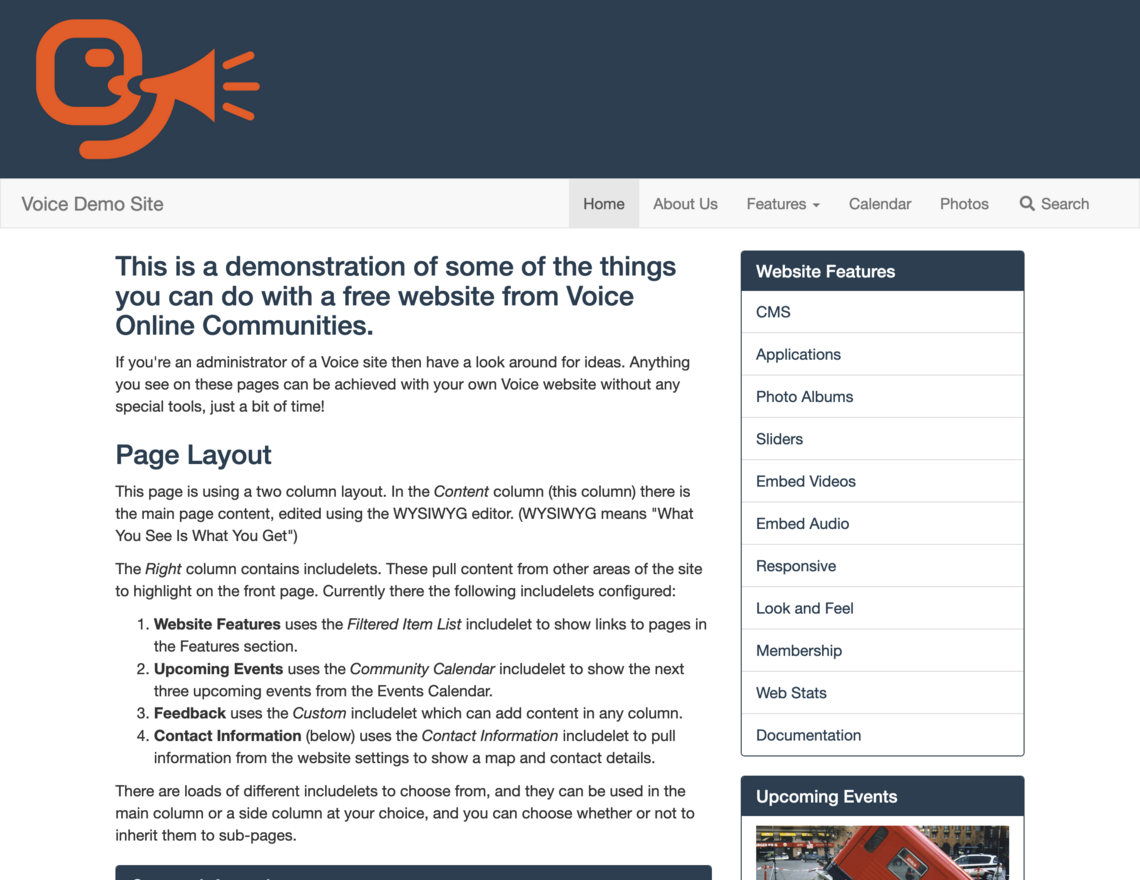
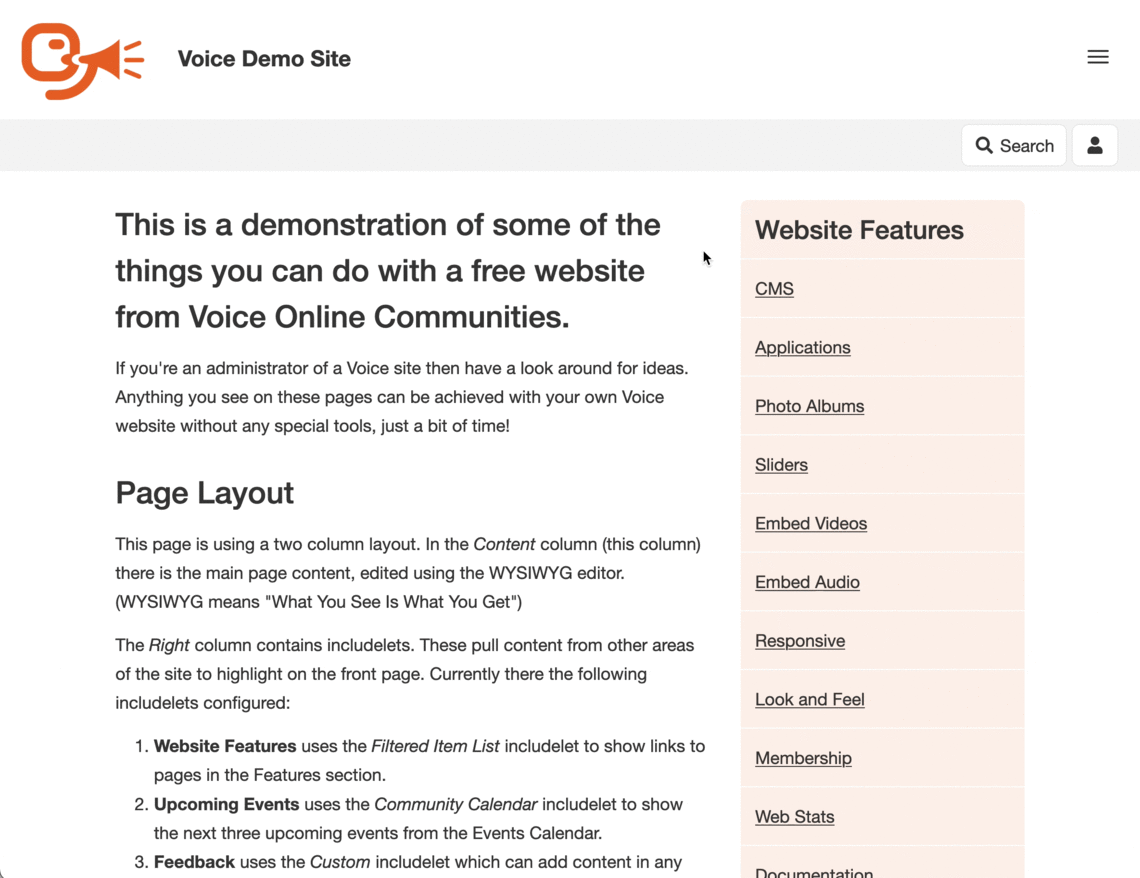
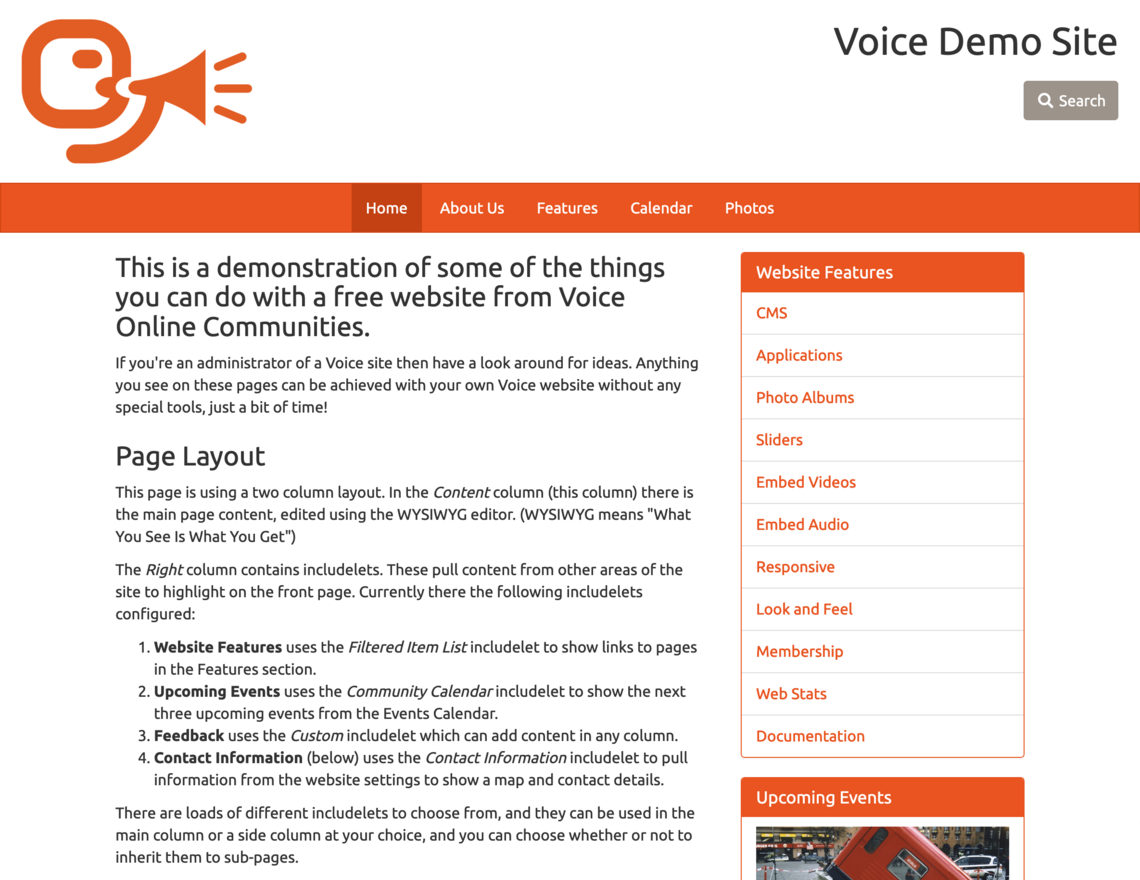
The colour scheme and layout of a Voice website is called the theme. Voice comes with a set of pre-created themes you can easily enable through the admin pages. Each theme has a range of options to change the colours, fonts, and layout.
All Voice themes have been designed with a responsive layout that changes depending on the size of the screen it is being viewed on.
For example, the Photo Album will show four columns of pictures on a wide screen, three columns on a medium screen, and two columns on narrow screens. When using a layout with several columns, on narrower screens the columns are shown stacked on top of each other rather than side by side.
The default theme is called Fresh, and is a good starting point for most sites, though you may want to change the colours to suite your group. If you want a completely different look then you can select a different theme.
From the admin pages, open the Look & Feel menu and choose Theme.
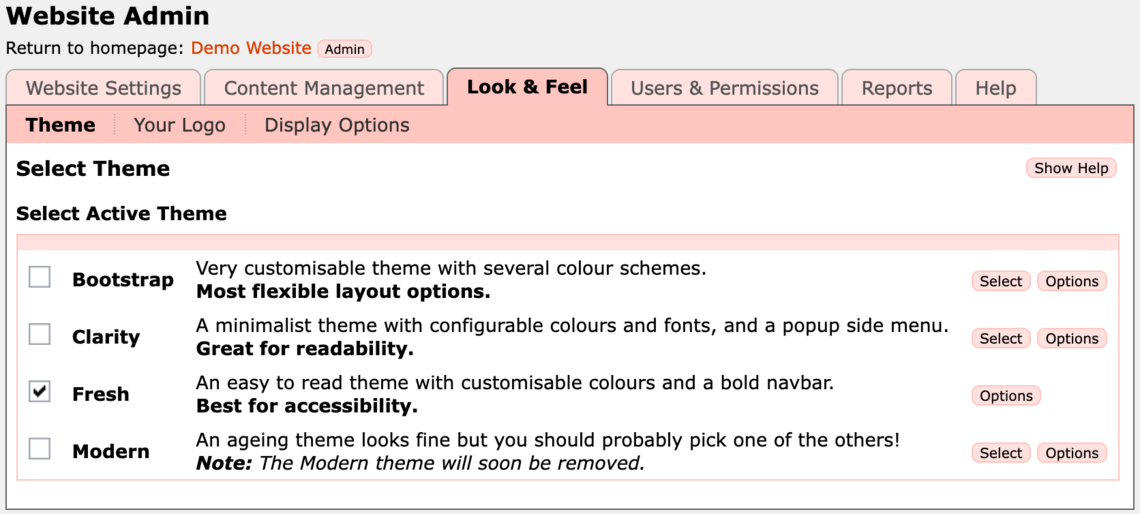
This page lists all the themes available for your website, together with an Options button for each theme. Initially the Fresh theme will be selected.
If you want to keep the current theme but try some different colours with it, then click the Options button in the same row as the selected theme. Or click Select on a different theme to try that.
Changes to the selected theme or options are immediately applied to all pages in your website.
Banner images
The Bootstrap, Fresh and Clarity themes can show a big picture across the top of the page, called a banner. First turn it on in your theme's Options, in the Banner Options section (Show Top Banner in Bootstrap, Show Banner Image in Fresh and Clarity), and choose the picture to use on every page. Each theme puts the banner in its own place: behind the logo and site name in Fresh, behind the logo and menu button in Clarity, and in the banner area in Bootstrap.
The Banner Height option sets how tall the banner is, and Homepage Banner Height lets your homepage have a different one - say a big Hero banner on the homepage and a short one on every other page. In Bootstrap, Banner Position also lets you put the banner above or below the menu bars.
Once the banner is on, you can give parts of your site a different picture:
- An application (like your Photo Album or Events Calendar) - open the Content menu, choose Applications, and click Banner next to the application.
- A Private Members' Area - click Banner next to it on the Applications page. Normally it uses the main site's banner.
- A page - open it in Content Management and use its Banner tab. Also use for pages below this one is ticked to start with, so the whole section gets the same picture. Untick it to use the picture on just that page: the pages below then carry on with the banner from further up (a section above, or the site's own). Like other changes to a page, the new banner shows once you publish it.
Each of these can use the same banner as the rest of the site (on a page, Same as the page above it, or the rest of the site), its own image, or no banner image at all. Choosing No banner image on a page with Also use for pages below this one ticked removes the banner from the whole section.
Banners are for the top of the page. If you want a picture behind a band of content further down a page, use the Background Begin and Background End includelets instead.
Customising Themes
Advanced users can change aspects of any theme by providing a custom stylesheet (CSS) file. Your styles are loaded after all the theme styles, so you can override any part of the layout of your site.
Each theme's Options page also has a set of Raw HTML fields (for the header, banner and footer) if you want to add your own markup directly - for example an embeddable script such as Google Analytics.
All the themes are built around Bootstrap 3. So you can completely change the style by generating your own bootstrap.css.
Many of the themes have colour created by Bootswatch - if so you can select it by name from the Options page.
If you create your own custom CSS file you can upload it into the Assets Library, and then select it from the Options page for your chosen theme.