The diagram below is an example of what you might see when you click on the Content Management tab in the admin pages. The exact details will depend on what pages you have in your website of course!

So an overview of what you can see. Firstly, along the top you'll see links to three pages: Content (currently selected), Assets Library, and Applications.
- Content is where you'll see all the pages that are visible on your site, and where you can add and edit pages.
- Assets Library is where you can store images, documents, and other media that you want to add into your pages.
- Applications is where you can enable and disable the pre-built applications, such as Photo Albums and Events Calendar.
On the left you'll see the Site Map, which shows a tree of all the content pages in your site. In this case Demo Website is the main homepage, then we have an About Us and News page at the top level, and a New Website page inside the News section.
Directly beneath the Site Map you can see the Not Found page, listed under Special Pages. This page is shown to any visitor who reaches your site but goes to an invalid URL. You could edit this to suggest which links they should try.
Below this is the Trash area, where deleted pages are stored temporarily until you click the Empty Trash button. If you want to recover a page from Trash then click on the page, click the Cut button, then click on the Site Map on the page above where you want to restore the deleted page, and click the Paste item here button. e.g., to undelete a page into the top level of the site you'd click on the site name in the Site Map before clicking the Paste item here button. More on this below.
In the main column, at the top is the search bar which you can use to find pages to edit in your site by searching on the page content.
The In production section only appears if you have any pages which you have created but not yet published. In this case we have one page, About Us, which is not yet published.
Finally there is a set of quick links under I want to... for creating a new Page or a News Story. News stories are placed in the News folder, and are automatically included in the Latest News includelet on the front page of your site. For more information on includelets see the Layouts section of the documentation.
The Site Map
The Site Map is a hierarchical view of the pages within your website. Any item in grey is an application and clicking on it will take you to the administration pages for that application. An item in red is a content page, and clicking on it will take you to the page where you can edit it. The currently selected item is highlighted in bold and black.
Editing an Existing Page
To edit an existing page simply click on it in the Site Map. You will be presented with a set of subtabs:

- In the Index tab you can see the page's URL, and a button to Reorder any items below this in the Site Map.
- The Edit tab is where you can modify the page content, and change options such as whether the page shows in the main navigation.
- The Layout tab is where you manage Includelets, and change the number of columns on the page.
- Relations is where you can link this page to other pages and images. This is a bit advanced, and there's more about it elsewhere in the documentation.
- If it's a top level page the Permissions tab will let you control who has access to see this page content. You could use this for example to restrict pages to members only.
Note that you can only set permissions on top level pages. Subpages automatically get the same permission as whichever top level page they are under. - Finally the Publishing tab lets you publish or unpublish the page, preview different page versions, set a publishing schedule, or publish a previous version of the page.
Underneath the tabs are some action buttons, which vary depending on which tab is selected. The key ones are:
- Preview - opens a new window/tab showing any saved but unpublished changes to the page, so you can check it before it goes live.
- View Live - opens a new window/tab showing the live page on your website.
- Clone - immediately creates a copy of the page in the current folder.
- Copy - creates a copy of the page on an internal clipboard. You can then navigate to another part of the Site Map and click Paste item here to make a copy in the new location.
- Cut - same as Copy, but when you click Paste item here it moves the page rather than making a duplicate of it.
- Delete - moves the page to Trash. You can empty the trash to delete it permanently, or use Cut/Paste to move the page back from trash to the live site.
- Create Item - creates a new content item, see below...
Creating a New Page
There are two ways to create a new page. The first is to use the I want to... links on the main Content Management page. Pages are created directly beneath the site homepage in the Site Map. News Stories are created in the News folder, if you have one.

The second way to create a page is better if you want to control exactly where on your site the page is created. What you do is click in the Site Map on the page in the hierarchy that will contain the new page. (In the above diagram you would select the News page to create a page inside this section, or the homepage if you want a page at the top level of your site). After selecting the page in the site map, click on the Create Item button. You will be presented with a drop down list of types of content page you can create:
Currently available content types are:
- Page - A standard content page with a Full title, Menu title, Subtitle, and an area for Body text.
- News Story - The same as a Page, though will also show in the Latest News includelet (which by default is placed on your site's homepage).
- Folder - The same as a Page, though by default it will show links to subpages in the Site Map.
- Redirect - This redirects any visitor to a different URL, which can be on your website or elsewhere. This can be useful if you want to create a navigation item that sends visitors somewhere else, or if you have moved content from an old URL to a new one.
If you select Redirect entire folder this will also redirect any URLs of subpages to the equivalent URL at the redirected location. This way if you move an entire section of content from one URL to another, then the old links will still work, and redirect to the appropriate new URL.
Select the one you would like, click Go, and you will be presented with your new empty content page.
Editing Content
Whether creating a new page or editing an existing one, you will be presented with a form which looks like this:
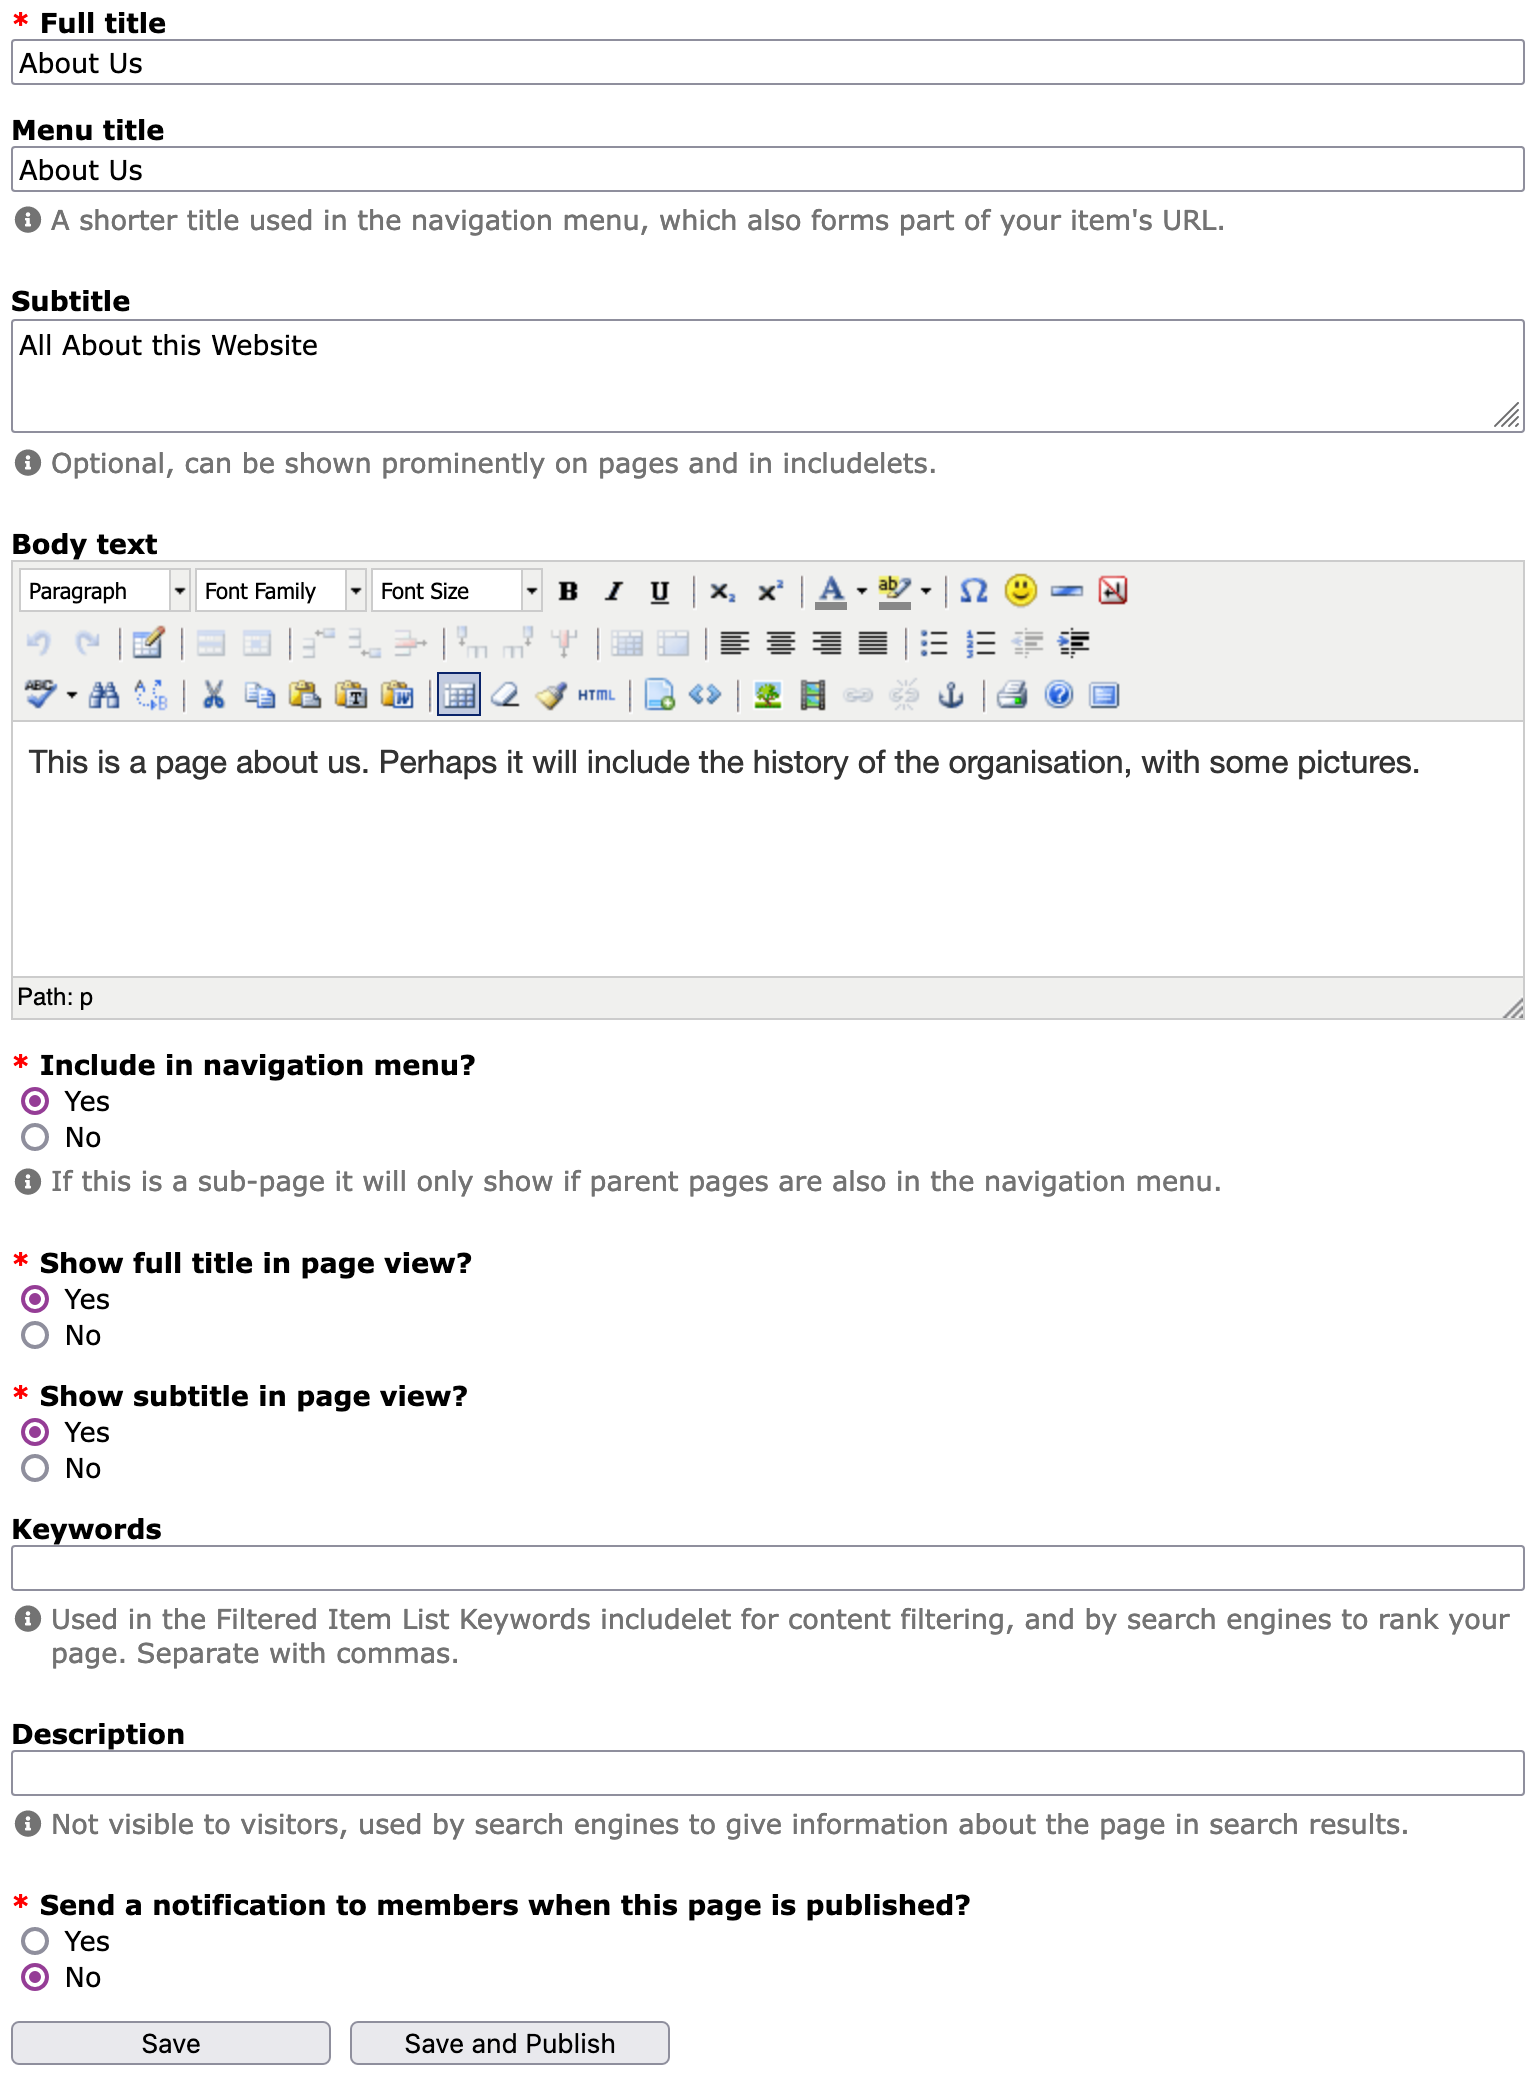
To complete your page fill in each field with the content you would like. Each content type has a set of fields that are relevant to that type. The possible fields are:
- Full title - The main title of the page, shown at the top of the page and in the browser's title bar.
- Menu title - A title that will be used in the navigation menu, the Site Map, and as the basis for the URL of the page. For this reason the menu title is usually simpler and shorter than the full title.
- Subtitle - A headline for the page which is used in listings of pages (e.g., in the Latest News, Child List, or Filtered Item List includelet) and can optionally be shown prominently on the page itself under the full title.
- Body text - The main body of the page, which can contain text, images, tables, etc.
- Include in navigation menu? - Answer Yes if you want the page to appear in the navbar. No if you'll link to it some other way. If you create a page within a Folder, such as with the News section, you don't need to add it to the navigation as it will be linked from its parent page automatically.
- Show full title in page view? - Usually you do want the page title visible on the page, but in some cases you may want to have a different layout without the title.
- Show subtitle in page view? - Shows the subtitle on the page in a large clear font, above the content. I usually turn this on as I like a nice big intro line at the start of a page!
- Show links to subpages? - Displays a list of links to pages nested directly below this one, shown below the main page content. Equivalent to adding the Child List includelet to the page layout.
- Keywords - Some words specifically associated with your content. These are not visible to the public but allow the page to be more easily searched for. They can also be used to relate items to each other and for filtering, when using the Filtered Item List includelet to make listings of content pages.
- Description - A one line description of the page. This is not visible to the public but allows the page to be more easily searched for.
- Hide from search engines? - If Yes, the page will not be found or indexed by search engines, so the content will remain reasonably secret. If you also choose not to show the page in the navigation menu then the only way anyone can find the page is if you give them the URL or you explicitly link to it.
The page will also not be found in in the Voice site search.
Note that this doesn't guarantee that the content will remain secret, as the URL could still be shared on social media etc. - Send a notification to members when this page is published? - If Yes, when the page is published any members of your site who have also opted in to updates will receive an email notification informing them of the new page.
There are a few different variations of the Save button, which appear in different contexts:
- Save as New Revision - saves a new revision of the item but leaves the old one live. This is good if you're working on changes and want to be able to preview them or edit them further before they're put live.
- Save as New Revision and Publish - saves a new revision and immediately puts it live. Keeps the previous version in case you might want to roll back to it later.
- Save - only available if you're editing a revision that isn't live - saves the current changes without publishing the page.
- Save and Publish - only available if you're editing a revision that isn't live - saves the current changes and immediately publishes the page.
If you would like to see how your page will look before you publish it, save to a new revision then click the Preview button. This will not make it available on your website but will show you how the current page will look when it is published. Note: the preview action displays the page as it would look at the point it was last saved. To preview your currently edited content you must save it first.
For detailed instructions on using the WYSIWYG editor, please read the WYSIWYG section.
Revision History
Every time you publish a page a new version of the document is created meaning that at any time you can go back and review all the previous versions. It is also possible to roll back a document such that the published live version on your site is a previous version. For more information on publishing different versions of a document please read the Publishing section.
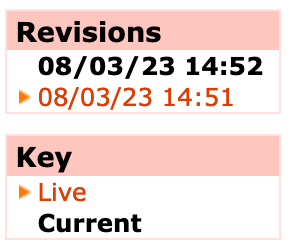
The revision history box indicates which version of the page you are editing. The currently selected page is shown in bold and black, and the currently live version is shown with a small arrow next to it (as shown in the "Key" box). (If the currently selected page is the live version it'll be bold and black and have a red arrow!)
Moving Pages
If you wish to move a page from one part of your site to another, this is done using the Cut and Paste item here buttons in the Index tabs of content pages.
- Click on the page you wish to move in the Site Map, then click the Cut button.
- In the Site Map click on the Parent Item of where you wish to move the page.
- Click the Paste item here button. The item will be moved into the Site Map at the level below the selected item.
In the example below, the About Us page was accidentally created in the News section, so is being moved to the top level of the site.
Deleting Pages and Recovering from Trash
If you click the Delete button on an item, it will be moved to Trash (which will appear in the left column of the page). Items are stored in here until you click the Empty Trash button.
If you want to recover a page from Trash then click on the page in the Trash area, click the Cut button, then click on the Site Map on the page above where you want to restore the deleted page, and click the Paste item here button.
In the example below, the About Us page is deleted, then Cut/Paste back into the Site Map.