The Photo Album app lets you create albums of photos and videos that your visitors can browse. You and your members can upload images and add YouTube videos, and you can control who gets to contribute through the permissions settings.
To enable it, go to the Content Management tab of the admin pages, then Applications, and click Enable next to Photo Album.
Getting around
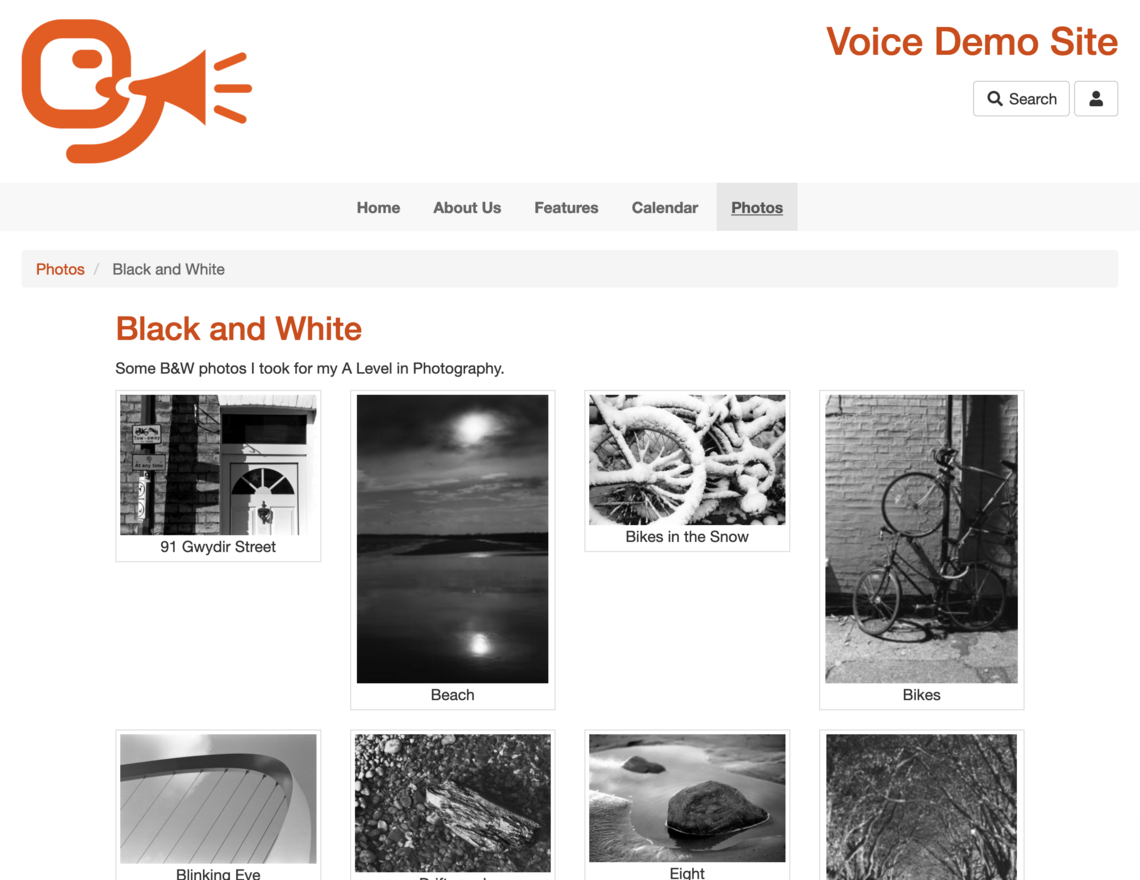
Photos are organised into folders (for grouping albums together) and albums (which contain the photos and videos). Click any folder or album thumbnail to open it; use the breadcrumb links at the top to go back up.
When you're logged in as an administrator, a small toolbar appears at the top of every folder and album page with buttons for the most common actions. Less-used options — permissions and delete — are tucked away in a menu at the end of the toolbar.
Adding content
In a folder — use the and buttons in the toolbar.
In an album — click the button and choose from:
- Add Photo — upload a single JPEG or GIF image, give it a title and description, and click OK.
- Upload Photos — upload a .zip file (up to 100MB) containing multiple photos. All images in the zip are added to the album automatically. Tip: rename your files before zipping — those filenames become the photo titles.
- Add Video — add a YouTube video to the album. Paste in the YouTube URL (e.g.
https://www.youtube.com/watch?v=…) or just the 11-character video ID, give it a title and optional description, and click OK. The video appears as a thumbnail in the album grid alongside your photos.
Viewing photos and videos
Click any photo thumbnail to view it full-size. Use the and buttons (or your left and right arrow keys) to move through the album, including past any videos. As an administrator you'll also see an button — click the small arrow beside it to find Delete Photo.
Click any video thumbnail to open the video player page, where the video plays embedded. The same Previous/Next navigation and button appear here too.
Editing a photo
Click Edit Photo on the viewer page. The edit page lets you:
- Rotate the image using the CCW (anti-clockwise) and CW (clockwise) buttons — you'll see a live preview.
- Update the Title and Description.
- Tick Hide to hide the photo from visitors without deleting it.
- Tick Album cover to use this photo as the album's thumbnail.
- Change the Album dropdown to move the photo to a different album.
Click Save when done. To delete the photo, use the Delete photo button at the bottom of the page, or choose Delete Photo from the dropdown on the viewer page.
Editing a video
Click Edit Video on the video player page. The edit page lets you:
- Update the Title, Description, and YouTube URL or video ID.
- Tick Hide to hide the video from visitors without deleting it.
- Tick Album cover to use it as the album thumbnail.
- Change the Album dropdown to move it to a different album.
Click Save when done. To remove the video, use the Delete video button at the bottom of the page, or choose Delete Video from the dropdown on the viewer page.
Editing an album
Click in the toolbar. The edit page covers everything in one place:
- Album details — name and description.
- Move — change the Folder dropdown to move the album to a different folder.
- Photos and videos — all photos and videos in the album are listed below. For each item you can reorder (↑↓), update the title and description, tick Hide, and select Album cover to set it as the thumbnail. Photos also have CCW/CW rotation buttons; videos also show a YouTube URL field so you can correct or change the linked video.
Click Save all changes when done. To delete the album, choose Delete Album from the menu.
Editing a folder
Choose Edit Folder from the menu. Here you can:
- Update the folder name and description.
- Move it — change the Move to folder dropdown and save.
- Reorder its contents — use the ↑↓ buttons next to each item, or click Sort Alphabetically to sort them automatically.
Click Save when done. To delete an empty folder, choose Delete Folder from the menu.
Grid and thumbnail settings
You can change how the album grid looks from the Photo Album settings page. Click the icon in the top navigation bar and choose Photo Album Settings.
- Grid width — controls how many columns are shown. There are seven options from 1 Wide (a single large column) up to 6 Wide (six compact columns); some options include a (Mobile N) suffix indicating how many columns appear on small screens. The default is 4 Wide (Mobile 2).
- Thumbnail aspect ratio — controls the shape of the thumbnail images in the grid. Natural shows each image in its own proportions. The other options (Square, 4×3, 16×9, 2×1) crop thumbnails to a consistent shape, which gives the grid a more uniform look. This also applies to video thumbnails.
- Thumbnails per page — how many photos and videos are shown per page in an album. The default is 24.
Permissions
Choose Permissions from the menu on any folder or album to control who can see and contribute to it. By default, items inherit permissions from the folder above them.
- Users with Contribute permission can add photos and videos, and edit or delete their own uploads.
- Administrators can add, edit, and delete everything.
By default, members of your site have Contribute permission and the general public can view but not add content. See the Permissions section for more detail.
Includelets
There is a Photo Album includelet that lets you embed an album on any CMS page, with clickable thumbnails and Previous/Next navigation. Options include:
- Album — which album to display.
- Grid width — number of columns in the thumbnail grid.
- Thumbnail aspect ratio — crop thumbnails to a fixed shape, or leave natural.
- Modal size — controls the width of the full-size popup.
- Show image title — shows the photo title below each thumbnail and in the popup.
- Show image description — shows the photo description in the popup.